Create and submit a purchase order in the EPSS Orders app as a department member.
Other guides cover Supervisor, Fund Manager, and Administrator roles.
Open Orders app → (opens in a new tab)
Orders app information →
On this page
Sign in
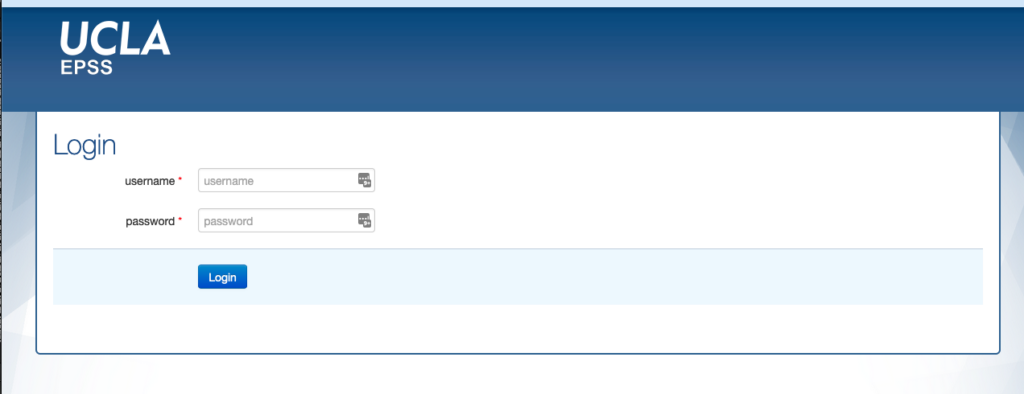
- Go to orders.epss.ucla.edu (opens in a new tab).
- Log in with your EPSS department account.
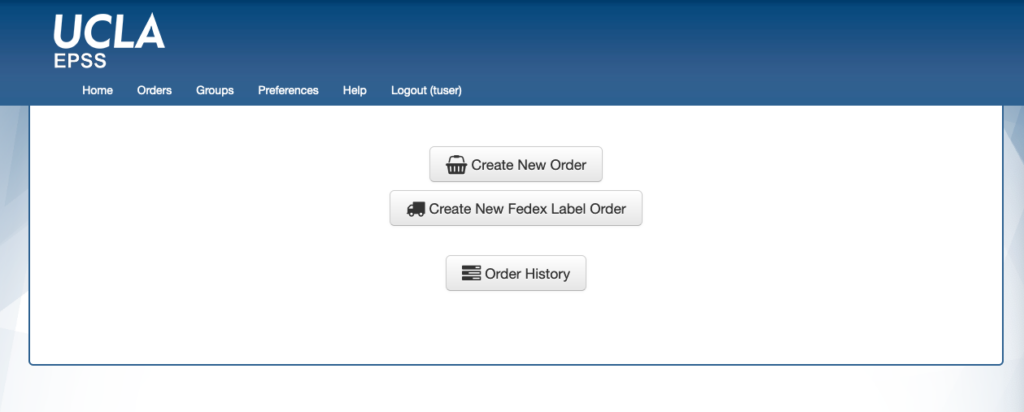
After you sign in, you will see a home screen similar to this:
Set preferences (first time)
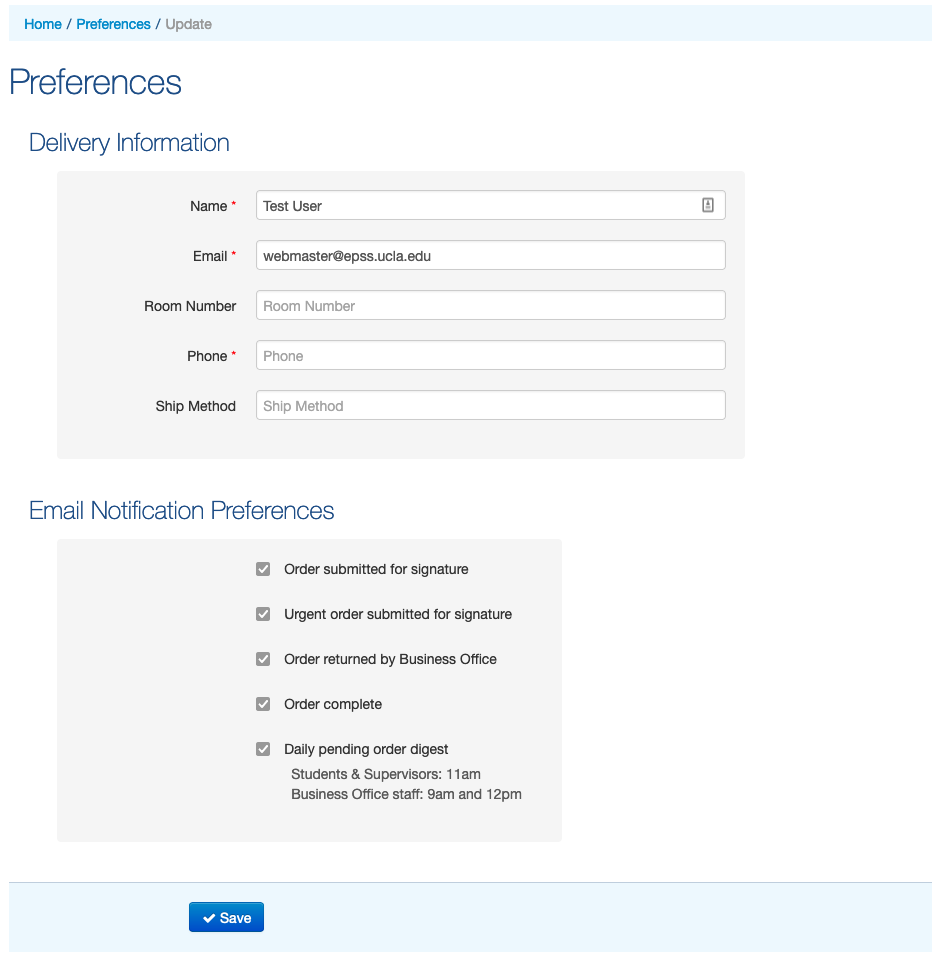
Before your first order, click Preferences in the top menu and complete your account details.
Room Number and Phone are required so the orders team knows where to deliver and whom to contact.
Leave all notifications on until you have placed an order and confirmed email notifications work.
Create a new order
- Click Home in the top menu to return to the landing page.
- Select Create New Order.
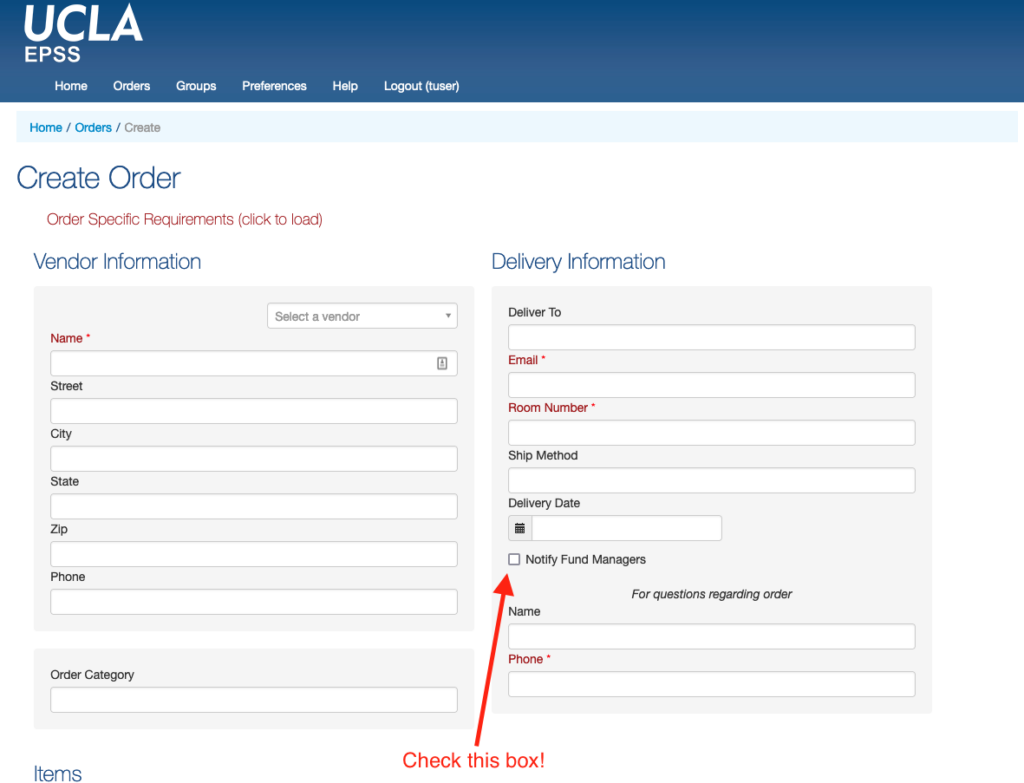
The order form has several sections. Work through each area below.
Vendor and delivery info
Vendor Information: Enter where you are purchasing from (Fisher, AirGas, ASUCLA Computer Store, etc.). Each order can have only one vendor — create separate orders for multiple vendors.
Delivery Information: Enter the person who will receive the order (physically or electronically). You can specify a separate contact if the recipient cannot answer questions about the order.
In the order category field, type: Order Category is unused at this time.
Check Notify fund managers so your fund manager can approve the order and add account information.
Add items
Add the items you need. For catalog orders, enter unit, catalog number, and price per unit. Or paste a link to the item in Item description.
Use Add item+ (lower-right) to add more items from the same vendor.
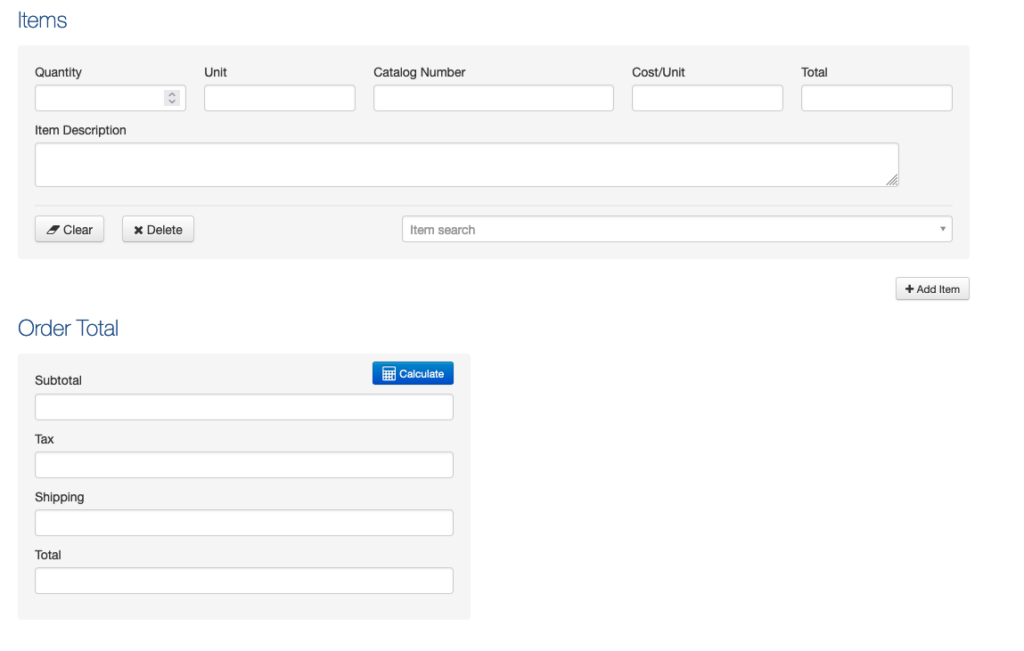
Click Calculate in the Order Total area and verify the totals.
The per-item Total field cannot accept decimals or thousands separators. Enter 4000 instead of 4000.00.
Remarks, approvals, and submit
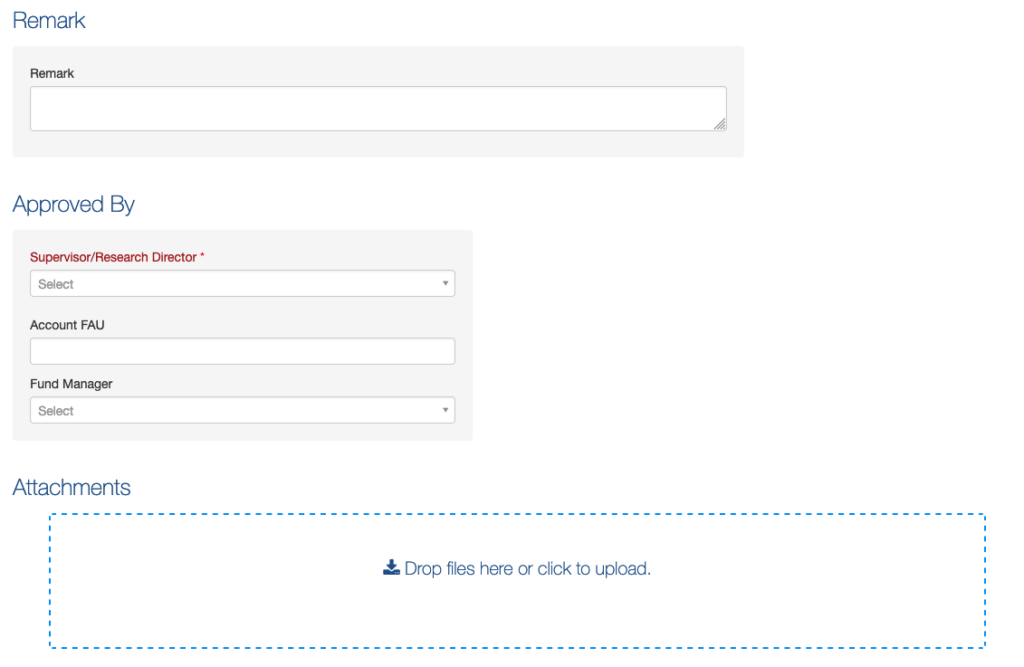
In Remarks, add notes or clarifications (for example, “color doesn’t matter” or “please purchase on my new grant”).
In Approved By, select your supervisor (which may be yourself in some cases) and your Fund Manager. Add the FAU if you know it; otherwise leave it blank.
In Attachments, upload images, PDFs, and vendor quotes.
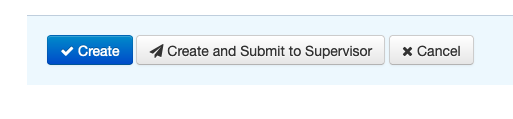
Click Create to save without submitting, or Create and Submit to Supervisor when the order is ready for processing.
Questions? Email help@epss.ucla.edu.