This guide will provide a basic overview of how to create and submit an order as a department member in EPSS. Other guides cover usage as Supervisor, Fund-Manager and Administrator roles.
Placing an Order
STEP 1:
Go to https://orders.epss.ucla.edu, and log in with your EPSS Department Account.
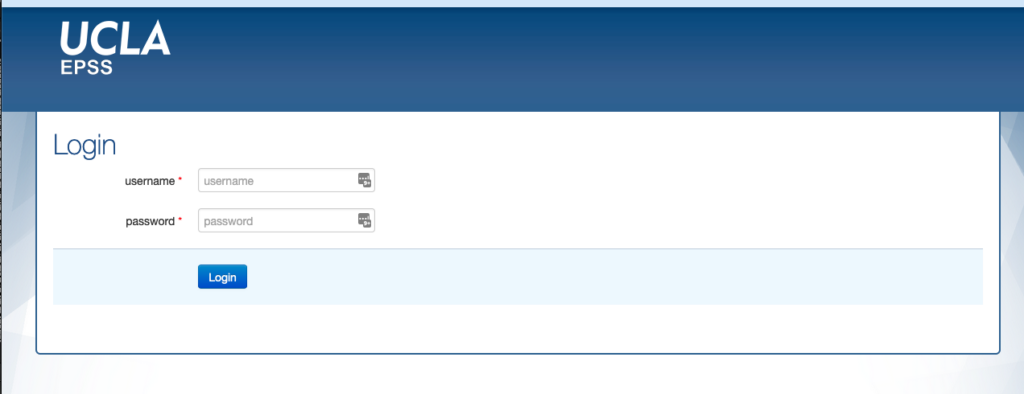

Once you have logged in, you will see some variation of this screen:
STEP 1a:
If this is your first time logging in before you place an order, please click on “preferences” in the top menu, and set your account details.
The “Room Number” and “Phone” fields are required to have an order placed, so the orders team knows where your order is going, and who to call about it.
Please leave all notifications on until you have placed an order and you are certain that email notification works for you.


STEP 2:
Once you have set the preferences, you can click on “Home” in the top menu to return to the landing page. Please Select “Create New Order” to start your order.
The screen that is now displayed is complex, so we will go through each area one at a time.
STEP 2a: In “Vendor Information” you will fill out information about where you are purchasing from. This may be Fischer, AirGas, or the ASUCLA Computer store, but the important thing to know is that each “order” can have only one vendor. (if you need to order supplies from more than one vendor or seller, you will have to create multiple orders)
STEP 2b: Under “Delivery Information”, you should fill out the information of the person who will receive this order physically (or electronically, where applicable). There is an area to specify a contact for the order separately, in case the person who is receiving the order cant answer questions or doesn’t know details about the order.
Then type: “Order Category is unused at this time” in the box.
STEP 2c: Be sure to check the “notify fund managers” checkbox, so that your fund manager can approve the order and add account information.
Adding Items
STEP 1:
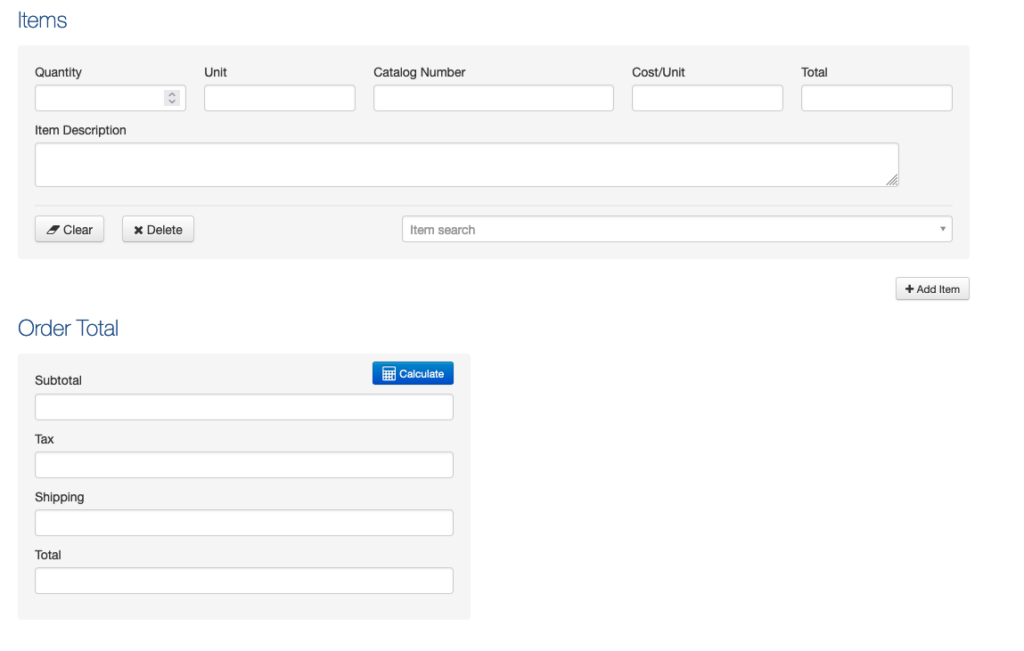
In this section, you add the items to the order you need. if you are ordering from a catalog, you can put the unit, catalog number and price per unit in, or alternately you can put a link to the item on the web in “item description”. the “add item+” button near the lower right corner of this area can be used to add an additional item to the order, if both items come from the same vendor.
Once you have added all items from this vendor to the order, click “Calculate” in the “Order Total” area, and check that everythign looks correct. (* a note: the “total” field per item cannot accept decimals, or thousands digit separators. Example: $4000.00 should be just 4000.)
STEP 2:
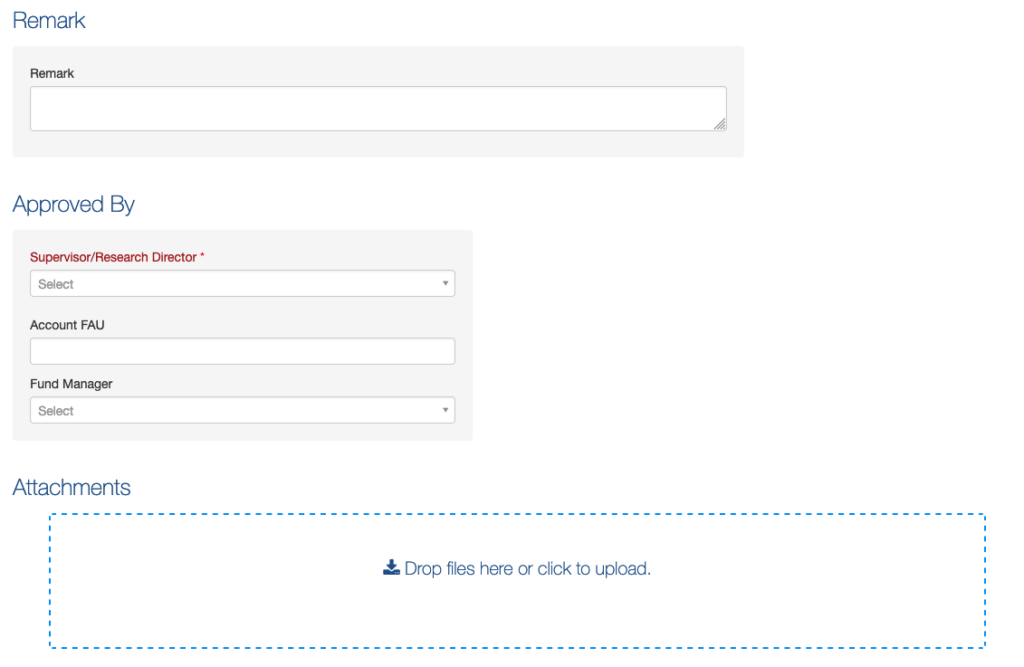
In the “remark section, you can put notes, or clarifications about the order. anything from “color doesn’t matter” to “please purchase this on my new grant”
In “Approved By” you should fill out your supervisor (which may be yourself in some situations) from the drop down list, and select your Fund Manager. If you know the FAU you may add it here, but its fine to leave it blank.
in “Attachments” you can upload images, pdf and other relevant items. Quotes from vendors should be put here.
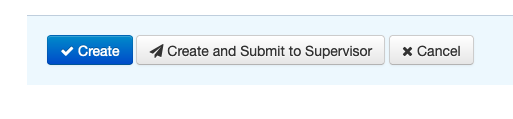
Step 3:
Last, click “create” or “create and submit to supervisor”. The first option will save the order, but NOT send it to be processed, which is helpful if you want to take time to put the order together, but not lose your work.
If the order is ready to submit, click “Create and Submit to Supervisor”