This guide will demonstrate how to install ESA SNAP software for use in EPSSCI150 – remote sensing.
click here to jump to macOS install instructions.
Windows installation instructions
First step is to download SNAP from the ESA website here: http://step.esa.int/main/download/snap-download/
You can download a development version of SNAP 8 from the course’s CCLE site.
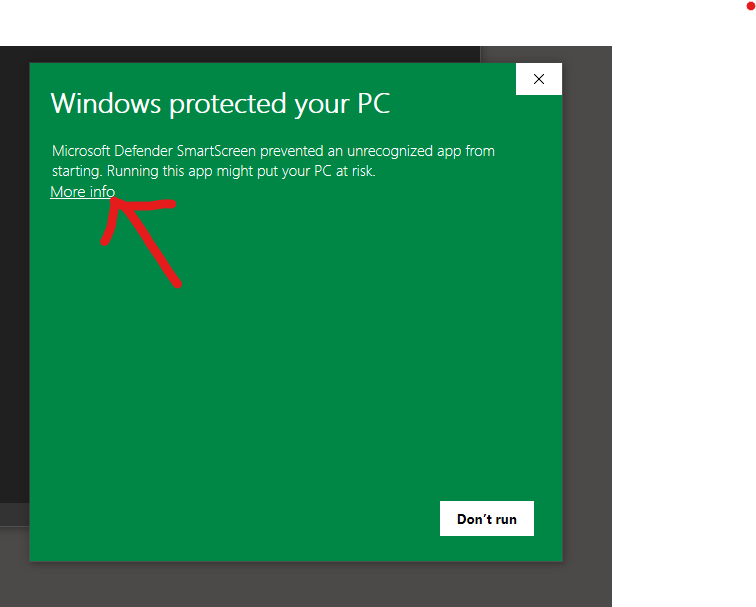
This will download an .exe file, which you can click to launch. Because this is a development release of the software, you will have to allow windows to open the installer. My screen is green in this example, but yours may be a different color.
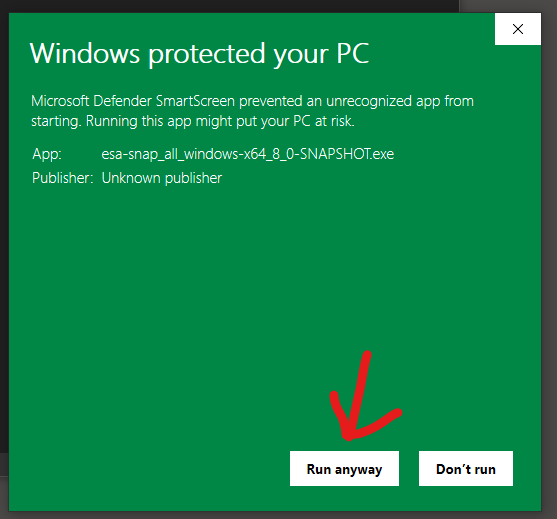
You will then be asked to confirm this installation by a windows utility called “User Account Control”. Please click yes/accept/ok on this prompt.
You should now see this window:
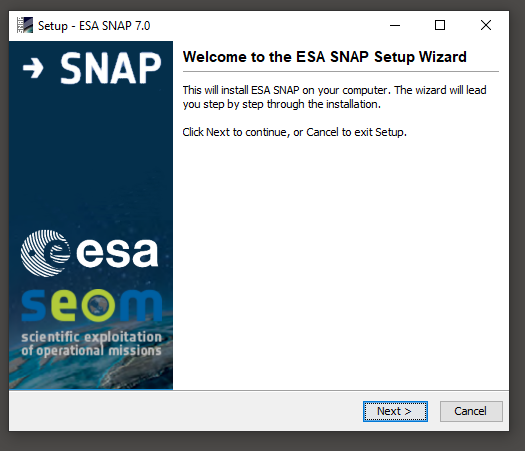
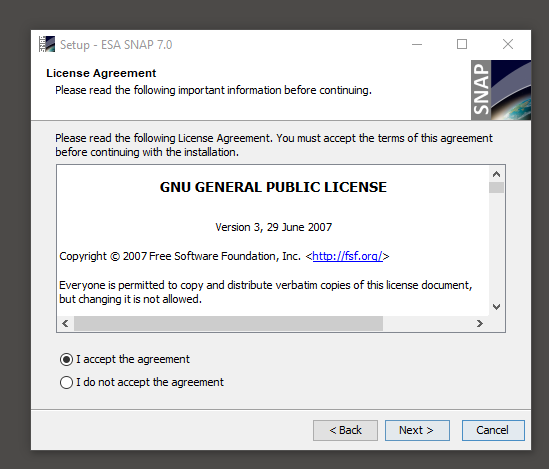
click “next” and accept the license agreement.
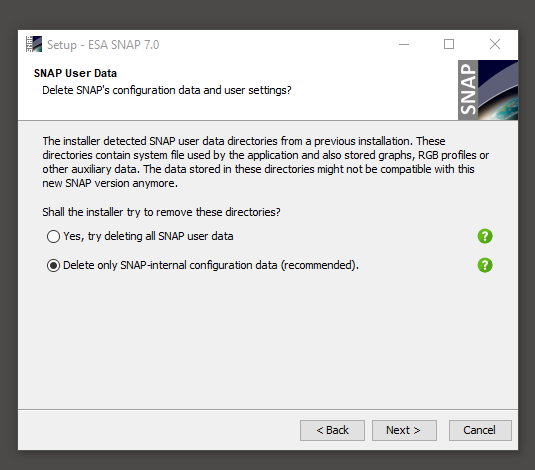
After this you will be asked to delete any existing snap data, please choose the default option “Delete only SNAP-internal configuration data (recommended)”
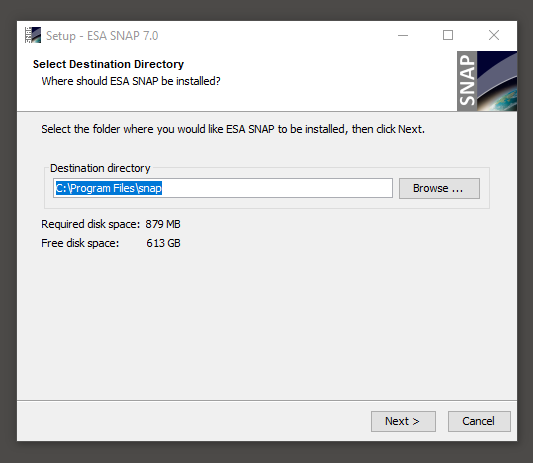
The next screen prompts for an installation directory. Leave this at the default value.
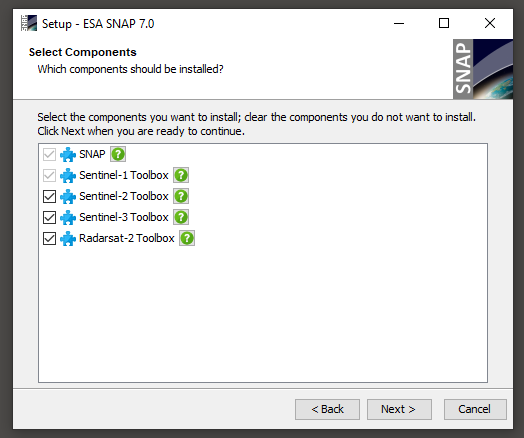
On the next screen make sure all the toolboxes are checked to install
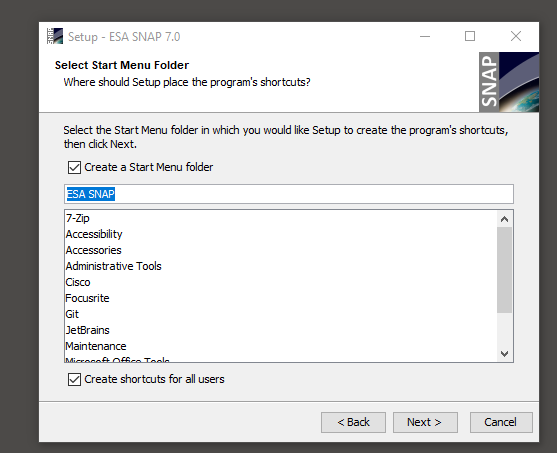
You then will be asked if you want to create shortcuts, and add snap to the start menu. You can leave this with the default settings as well.
the final screen asks about if you want to configure snap to work with python. for now, skip integrating python.
macOS installation instructions
Make sure you have downloaded the macOS version of SNAP 8 from the course CCLE site.
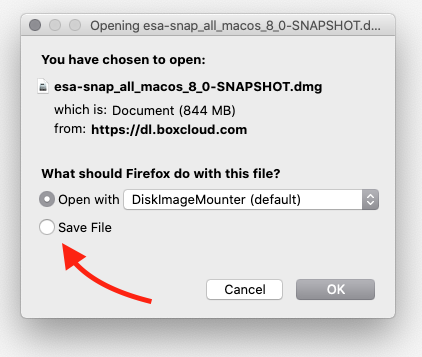
This will download a .dmg file, which you can click to mount on macOS. For this tutorial we are using macOS Catalina (10.15.7) , but the process should be the same for most older versions.
Make sure you select “Save File” instead of “Open With”.
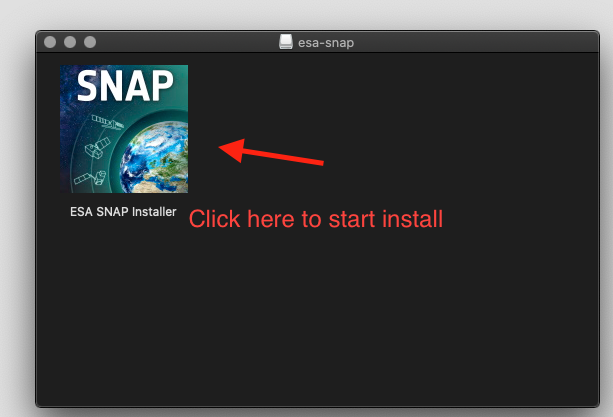
Once the file is downloaded, double click on it to open the installer.
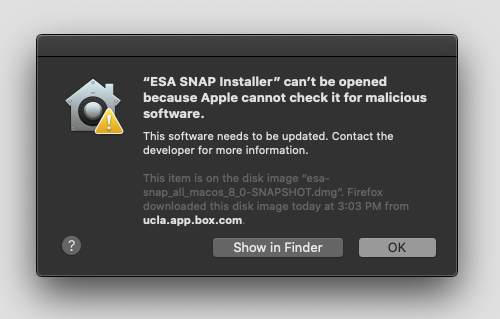
You will encounter a message that says this installer cannot be opened because Apple cannot check if it is malicious software. This is OK, so click ok.
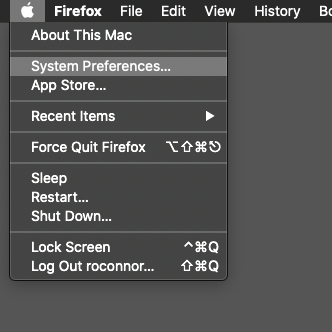
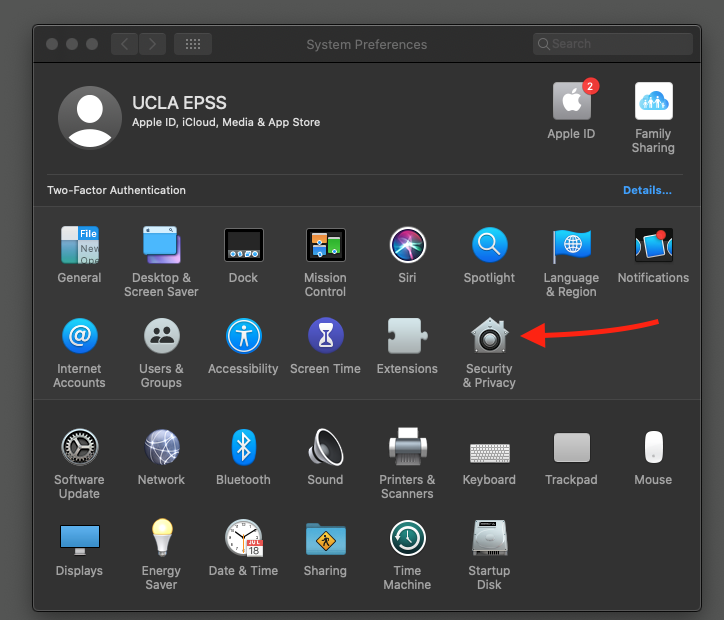
You’ll need to open System Preferences, which you can find by goign to the apple icon in the upper left corner of the screen and selecting “System Preferences”.
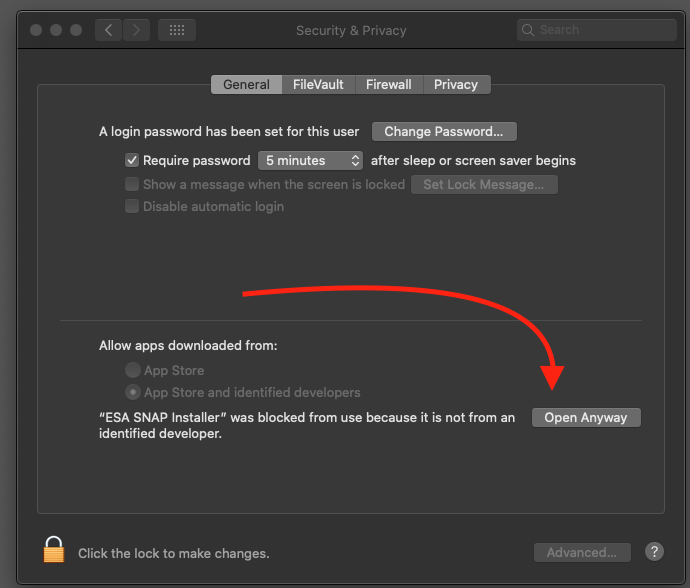
Once you have System Preferences open, click on “Security and Privacy”
You should see the message at the bottom of this screen (be sure you are on the “general” tab) and please select “open anyway”
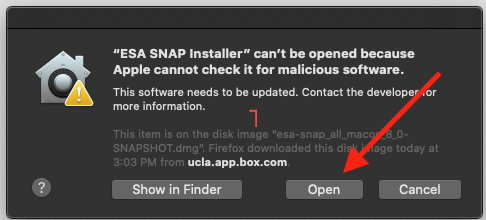
Almost there! you will see another popup which again says the file cannot be opened. Click “open” on this window.
Now you are ready to start the installer (whew) !
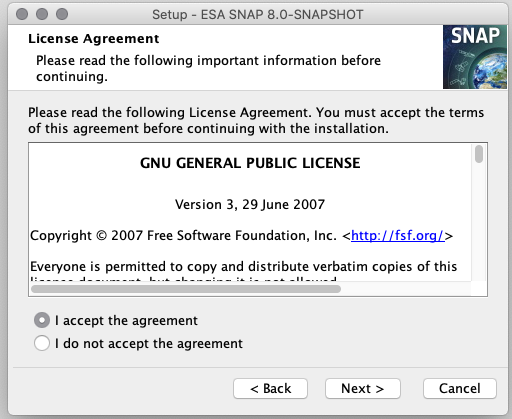
You should see this:
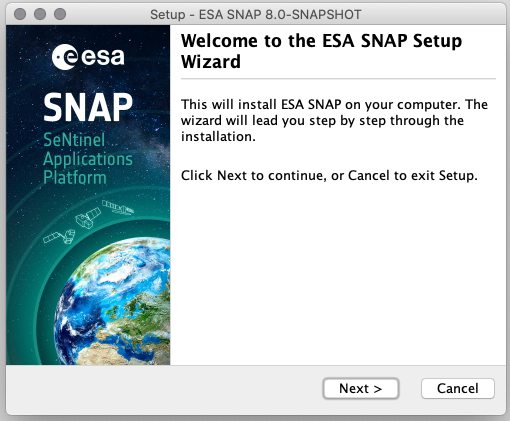
Click “next”, and on the next screen accept the license agreement.
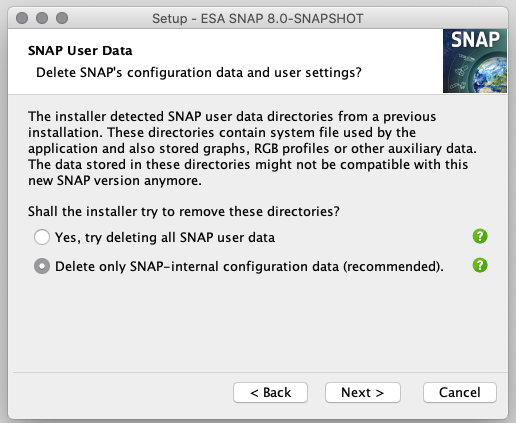
you will then be asked to select an option to delete SNAP user Data. Select the recommended option.
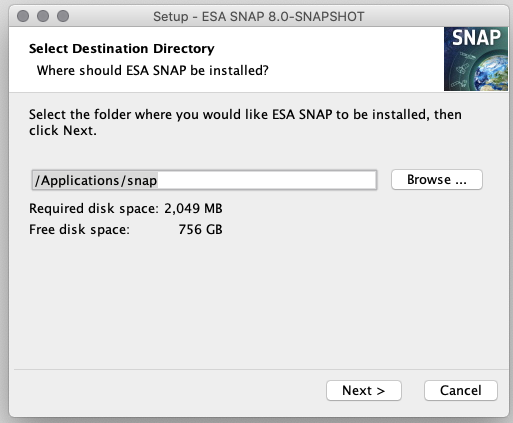
Now you are prompted to pick an installation destination. Leave this as the default value as well.
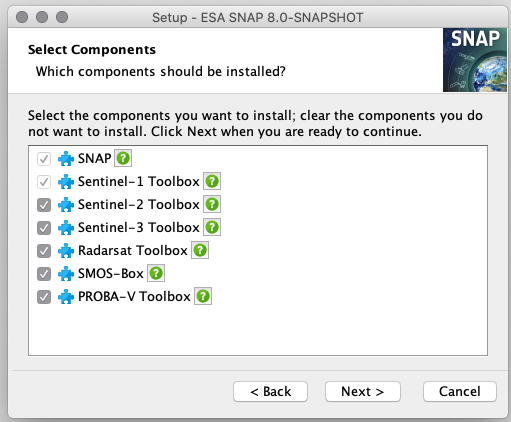
the next screen will ask you to select which components are going to be installed, check all the boxes
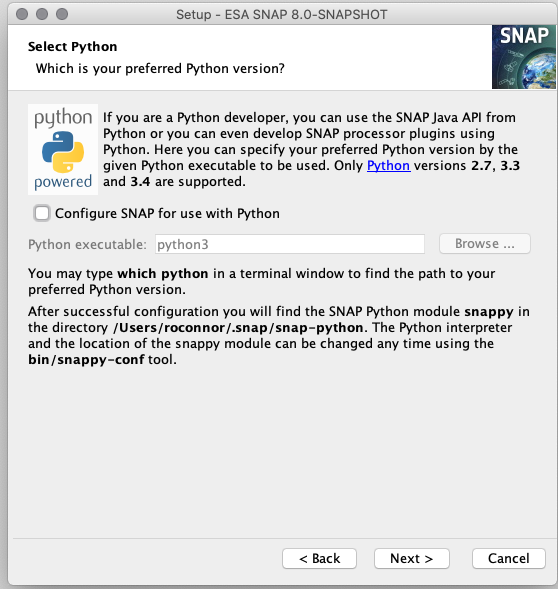
the following screen will ask if you want to configure SNAP to use Python. For now, leave this unchecked.
The Installer will now install SNAP, and when done prompt you to launch SNAP, which you should do.
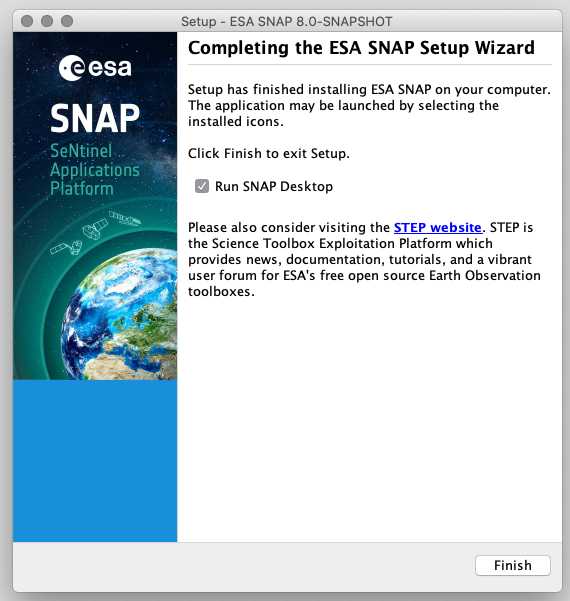
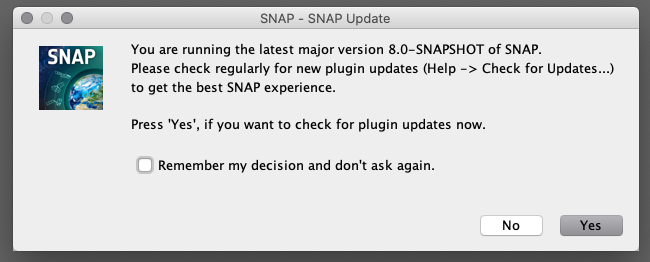
Snap should ask you to install updates to plugins. You should choose yes.
Congratulations, you are done!