Skip to Main Content
UCLA Logo EPSS IT

Using Zoom

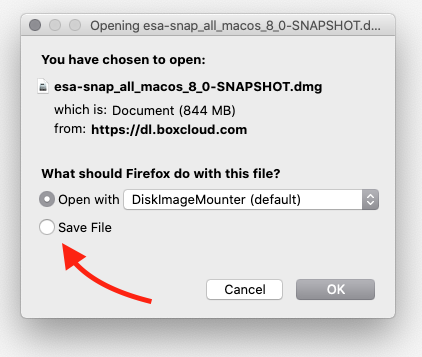
Get the Zoom app: Download the Zoom Client for Metings: https://ucla.zoom.us/download 

Once installed: Go to your Start menu, and open Zoom.  If you aren’t logged in, it’ll look like: 

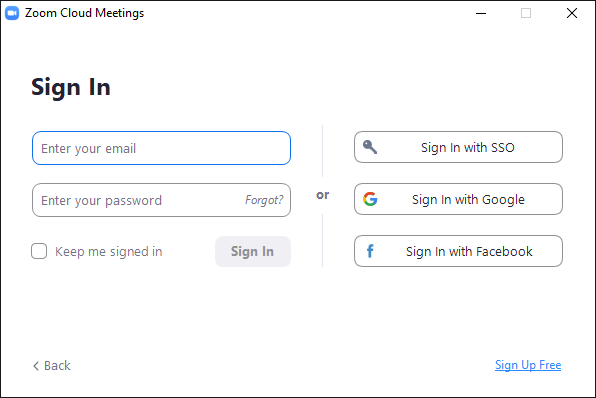
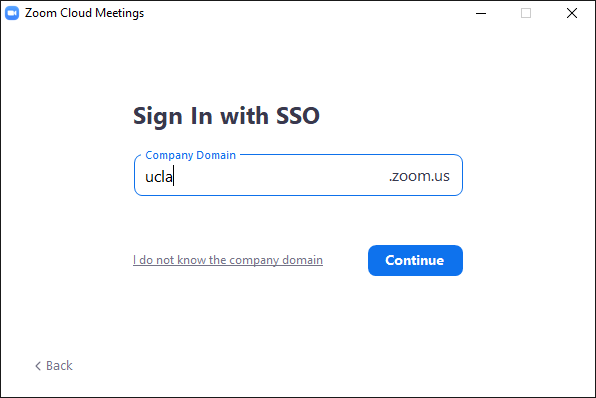
Click Sign in with SSO.  It will ask for a domain. Use ucla.zoom.us  

You’ll be taken to the standard UCLA SSO login page, proceed as normal.  You’ll be asked to open Zoom Meetings.  If not, click the “Launch Zoom” on the page where you just logged in. 

Zoom app interface: 

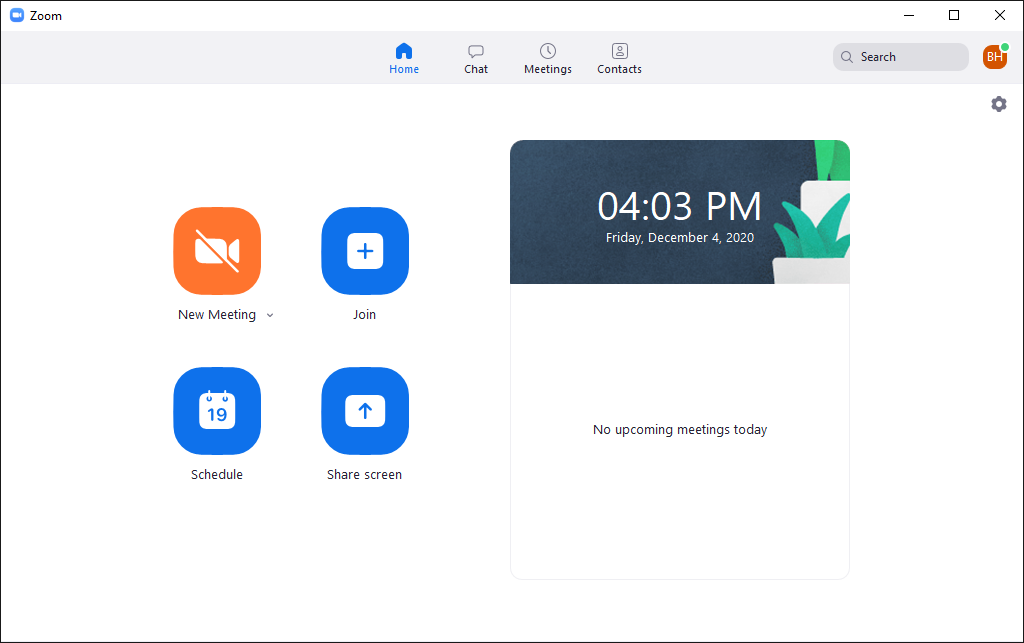
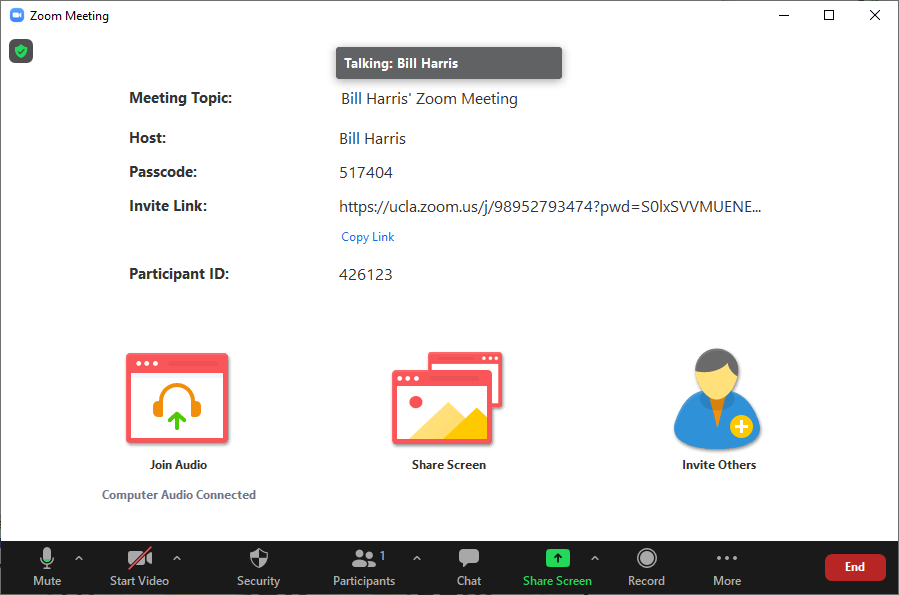
To Create a meeting: Click New Meeting.  A new meeting page will open, you’ll be asked if you want to connect with video or audio.  Now you can see the meeting details.   

This has all the information others will need to connect.  Most importantly “Copy Link” so you can just paste the link to your meeting into a chat or e-mail. 

To join previous recuring meetings:  The “Join” button leads to a short list of past meeting links, no need to go find a lengthy URL to rejoin a meeting. 

 Audio options: Next to the “Mute” symbol is a “^” that has more options.  You can select which speakers and microphone to use.  There is also a test function, which will verify that the Zoom app is connected properly to the audio devices. 

Video options:  The video “^” allows you to choose which camera to use.  There are also virtual background and video filter features.  Virtual backgrounds will work better with a green screen, but it’s not required.  A video can also be used as a background.  There is a “+” button where you can upload your own picture or video. 

Security:  The host of the meeting can control what participants can do, chat, share screen, unmute themselves, etc.

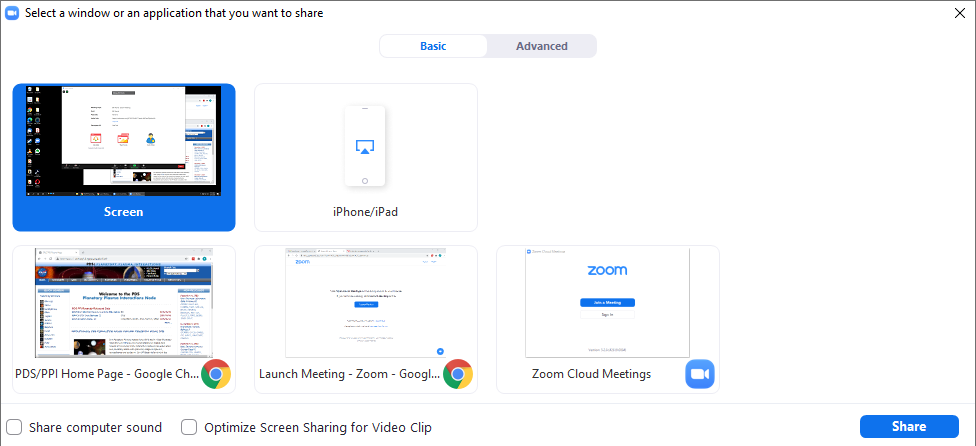
Screen sharing: You can choose a physical display to share, or a specific window.  You can also share the audio output (bottom left corner).  This will share all audio output from your computer, not just the window you are sharing.  When doing this, headphones are strongly recommended. 

You can also allow for more than 1 user to share their screen at the same time. In “Advanced sharing options” you have the option of using a Powerpoint as a background or use a second camera.  The second camera will be placed Picture-in-Picture style. 

Zoom is UCLA’s choice for video and web conferencing. Through a system-wide license agreement, the University of California has negotiated a significant discount off the regular price of a Zoom Pro license. You can read more about Zoom here.

Click the button below for instructions on how to handle Zoom meetings

Install ESA Snap for EPSSCI150

This guide will demonstrate how to install ESA SNAP software for use in EPSSCI150 – remote sensing.

click here to jump to macOS install instructions.

Windows installation instructions

First step is to download SNAP from the ESA website here: http://step.esa.int/main/download/snap-download/

You can download a development version of SNAP 8 from the course’s CCLE site.

This will download an .exe file, which you can click to launch. Because this is a development release of the software, you will have to allow windows to open the installer. My screen is green in this example, but yours may be a different color.

You will then be asked to confirm this installation by a windows utility called “User Account Control”. Please click yes/accept/ok on this prompt.

You should now see this window:

click “next” and accept the license agreement.

After this you will be asked to delete any existing snap data, please choose the default option “Delete only SNAP-internal configuration data (recommended)”

The next screen prompts for an installation directory. Leave this at the default value.

On the next screen make sure all the toolboxes are checked to install

You then will be asked if you want to create shortcuts, and add snap to the start menu. You can leave this with the default settings as well.

the final screen asks about if you want to configure snap to work with python. for now, skip integrating python.


macOS installation instructions

Make sure you have downloaded the macOS version of SNAP 8 from the course CCLE site.

This will download a .dmg file, which you can click to mount on macOS. For this tutorial we are using macOS Catalina (10.15.7) , but the process should be the same for most older versions.

Make sure you select “Save File” instead of “Open With”.

Once the file is downloaded, double click on it to open the installer.

You will encounter a message that says this installer cannot be opened because Apple cannot check if it is malicious software. This is OK, so click ok.

You’ll need to open System Preferences, which you can find by goign to the apple icon in the upper left corner of the screen and selecting “System Preferences”.

Once you have System Preferences open, click on “Security and Privacy”

You should see the message at the bottom of this screen (be sure you are on the “general” tab) and please select “open anyway”

Almost there! you will see another popup which again says the file cannot be opened. Click “open” on this window.

Now you are ready to start the installer (whew) !

You should see this:

Click “next”, and on the next screen accept the license agreement.

you will then be asked to select an option to delete SNAP user Data. Select the recommended option.

Now you are prompted to pick an installation destination. Leave this as the default value as well.

the next screen will ask you to select which components are going to be installed, check all the boxes

the following screen will ask if you want to configure SNAP to use Python. For now, leave this unchecked.

The Installer will now install SNAP, and when done prompt you to launch SNAP, which you should do.

Snap should ask you to install updates to plugins. You should choose yes.

Congratulations, you are done!

Welcome to EPSS!

EPSS IT Helpdesk staff are here to help with your IT/Computing needs.

We support many services in EPSS, including websites, networking, computer labs, mailing lists and more. If we are unable help with your problem or question we will do our best to direct you to someone who can help.

Please email help@epss.ucla.edu for help with EPSS departmental IT related issues.

For urgent/time-sensitive issues, please add “URGENT” to the subject line of your email.

Sending an email will automatically create a ticket on our system.

For inquiries on the topics shown below, check out the IT Support Center.

If you have any further questions, feel free to contact us at help@epss.ucla.edu.